A Guide to Installing Fedora 9: Part 2
So, you have already booted up with the live DVD. Follow this part to actually install Fedora on your system…
The Main Installation of Fedora:
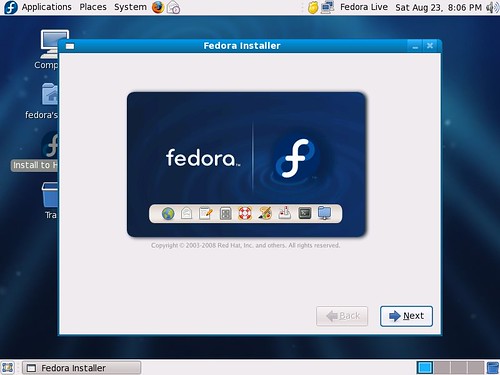
After reaching to the Fedora Desktop (if you don’t know how, follow the first part of this guide), use the “Install to Hard Drive” icon to start the Fedora installer. You will be greeted with the following window:

Click ‘Next’. Select the layout of your keyboard from the list that appears (usually US English).
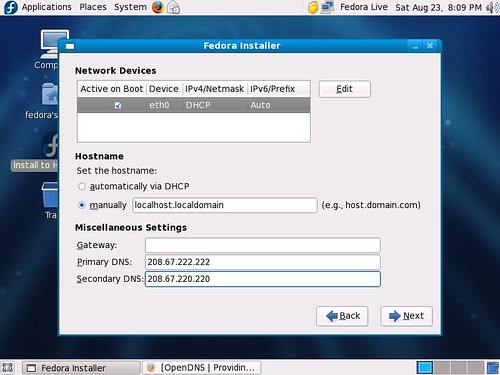
On the next page, you can choose your default network settings. Leave them as default if you don’t want to mess with these. If you want to speed up your net connection a bit (to know how, see: viewtopic.php?f=11&t=19), you can set the DNS servers to 208.67.222 and 208.67.220.220 as shown:

On the next page that appears, select your time zone, by using the graphical map or the menu (select ‘Kolkata’ for India). Uncheck ‘System Clock uses UTC’ .
Next: you need to set your root password (I will suggest, you use a short password if security is not a concern :!, as Fedora keeps on asking for root password for everyday administration tasks like updating the system).
Now comes the most important part in installing any linux distro on your PC:
Partitioning of Hard Drive
(to be written…)
–
Kartik - The TechGlider Guy
http://www.techglider.in