Configuring Apache for Developing Multiple Websites under Ubuntu Linux
Are you a beginner in web development with LAMP environment, or a CS/IT student overwhelmed with setting up LAMP and configuring it for your web-related academic project? If yes, then you are at the right place.
We have discussed earlier how easy it is to setup a web development environment on your Ubuntu desktop. In this article we will try to have a more customized setup of this environment for easily working with multiple websites. Also find below introduction to some useful Apache utilities and configuration files on Ubuntu/Debian operating system.
One of the ways to work on multiple sites is to put different directories under /var/www and access them as http://localhost/site1, http://localhost/site2 etc. but there is another and more elegant way. We can access our sites simply by pointing our browsers to http://site1/ and http://site2 etc. To find out how, follow the tutorial.
Let’s keep all our development websites under the home directory in public_html folder. Apart from being easy to manage your website from inside your home folder, this has the benefit that you no longer need to use sudo to put files in your document root (/var/www earlier).
Open the Terminal and follow the steps for a test setup, you may customize it your preferences later:
kartik@PlatiniumLight ~ $ mkdir public_html
kartik@PlatiniumLight ~ $ cd public_html/
kartik@PlatiniumLight ~/public_html $ mkdir site1
kartik@PlatiniumLight ~/public_html $ mkdir site2
kartik@PlatiniumLight ~/public_html $
Create files called index.html with some content inside each of these directories to help you identify them when you walk through this tutorial:
kartik@PlatiniumLight ~/public_html $ cd site1
kartik@PlatiniumLight ~/public_html/site1 $ gedit index.html
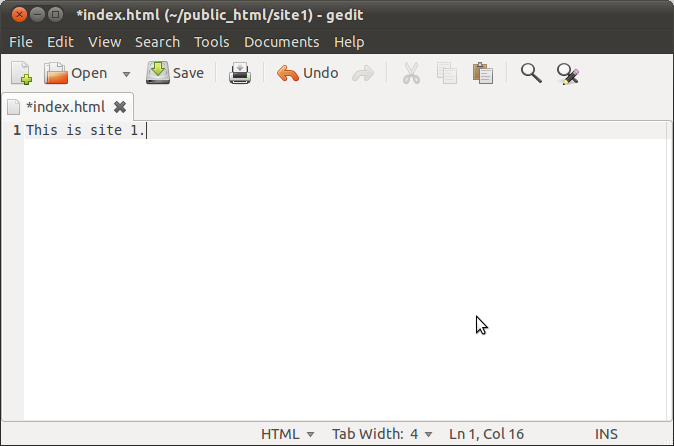
Enter some text such as “This is site 1” and save the file. Similarly put “This is site 2” in the index.html of site2 directory.
kartik@PlatiniumLight ~/public_html/site1 $ cd ../site2
kartik@PlatiniumLight ~/public_html/site2 $ gedit index.html

Now begins the main step of the process. We have to create separate apache configuration file for each of the websites. This is fairly easy to do. We copy the default config file and modify it to our needs:
kartik@PlatiniumLight ~/public_html/site2 $ cd /etc/apache2/sites-available/
kartik@PlatiniumLight /etc/apache2/sites-available $ sudo cp default site1
kartik@PlatiniumLight /etc/apache2/sites-available $ sudo cp default site2
kartik@PlatiniumLight /etc/apache2/sites-available $ sudo vim site1
Note that I am using vim editor for making the changes as I prefer it for its amazing syntax highlight support even for various linux configuration files, you may use gedit, or any other editor instead.
We need to change the path of the DocumentRoot and Directory to the particular website’s directory, and add a ServerName directive:
ServerName site1
DocumentRoot /home/kartik/public_html/site1
<Directory /home/kartik/public_html/site1/>
Take notice of the ‘/’ near the end of the second line, it is important. Also don’t forget to add the line with ServerName directive just before the DocumentRoot directive. The lines which need to be edited are highlighted with red arrows in the following screenshot:

Save the file, similar changes need to be done for other sites also, site2 in this example.
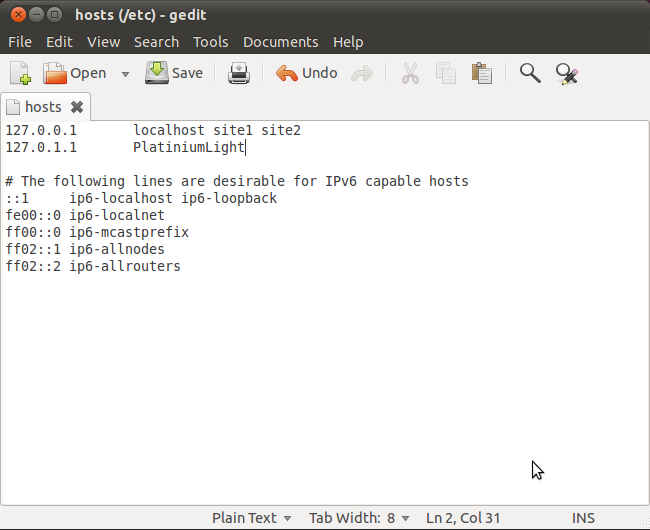
Now we need to make entries in the hosts file so that Apache can recognize the new sites.
kartik@PlatiniumLight ~ $ sudo gedit /etc/hosts
Add the names of the new sites after localhost as shown:
Now enable the new websites by using a2ensite command:
kartik@PlatiniumLight ~ $ sudo a2ensite site1
Enabling site site1.
Run '/etc/init.d/apache2 reload' to activate new configuration!
kartik@PlatiniumLight ~ $
Do similarly for site2, and then run the following command to activate the new configuration:
kartik@PlatiniumLight ~ $ sudo service apache2 reload
* Reloading web server config apache2
apache2: Could not reliably determine the server's fully qualified domain name, using 127.0.1.1 for ServerName
[ OK ]
kartik@PlatiniumLight ~ $
You can ignore the warning which is shown in the above output. Now open your favorite browser and open http://site1 and http://site2 in different tabs, you will find the content of their respective index.html files.

And now you are done with setting up multiple sites in Apache. You can create as many sites as desired by following the same procedure, creating a config file for each website.
Here follows an introduction to some useful Apache utilities and configuration files which aid you in this kind of a setup:
a2ensite - As we used this above, you already know what it does - enable a website among those available under /etc/apache2/sites-available directory.
a2dissite - does exactly the opposite - disable a website so that it is no longer accessible from your web server. E.g.
kartik@PlatiniumLight ~ $ sudo a2dissite site2
[sudo] password for kartik:
Site site2 disabled.
Run '/etc/init.d/apache2 reload' to activate new configuration!
kartik@PlatiniumLight ~ $ sudo service apache2 reload
* Reloading web server config apache2
apache2: Could not reliably determine the server's fully qualified domain name, using 127.0.1.1 for ServerName
[ OK ]
kartik@PlatiniumLight ~ $
This will disable site2 from loading any more. You can use a2ensite to enable it again.
Similar to sites, there are corresponding directories and commands for controlling apache modules also. Available modules are kept under /etc/apache2/mods-available directory and enabled ones are symlinked under mods-enabled directory. The corresponding commands are - a2enmod and a2dismod. E.g.
kartik@PlatiniumLight /etc/apache2/conf.d $ sudo a2enmod rewrite
Enabling module rewrite.
Run '/etc/init.d/apache2 restart' to activate new configuration!
kartik@PlatiniumLight /etc/apache2/conf.d $ sudo service apache2 reload
* Reloading web server config apache2
apache2: Could not reliably determine the server's fully qualified domain name, using 127.0.1.1 for ServerName
[ OK ]
kartik@PlatiniumLight /etc/apache2/conf.d $
This will enable Apache rewrite module which is required my some CMS solutions like Drupal to enable pretty URLs.
Hope this article was useful to you, feel free to ask your doubts, problems you face, or any similar tips you might have through comments.
An edited version of this article first appeared at http://www.muktware.com/articles/1876